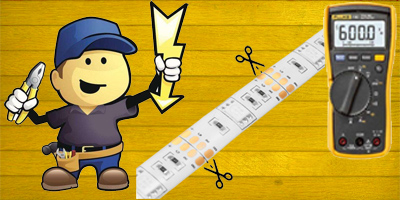
If your led strip does not work, or no longer works after some time, follow this guide which will allow you to identify the fault and possibly carry out a repair.
How to test a led strip
The first thing to do is identify the failure. It can come from the power supply, the controller, the amplifier, a bad connection or a bad contact on the led strip.
Power supply test
- Disconnect the light device from the 12 or 24V power supply (controllers, dimmers, amplifiers and led strips).
- Take a voltmeter or multimeter and test the output voltage at no load. You should get 12 or 24V depending on the transformer used.
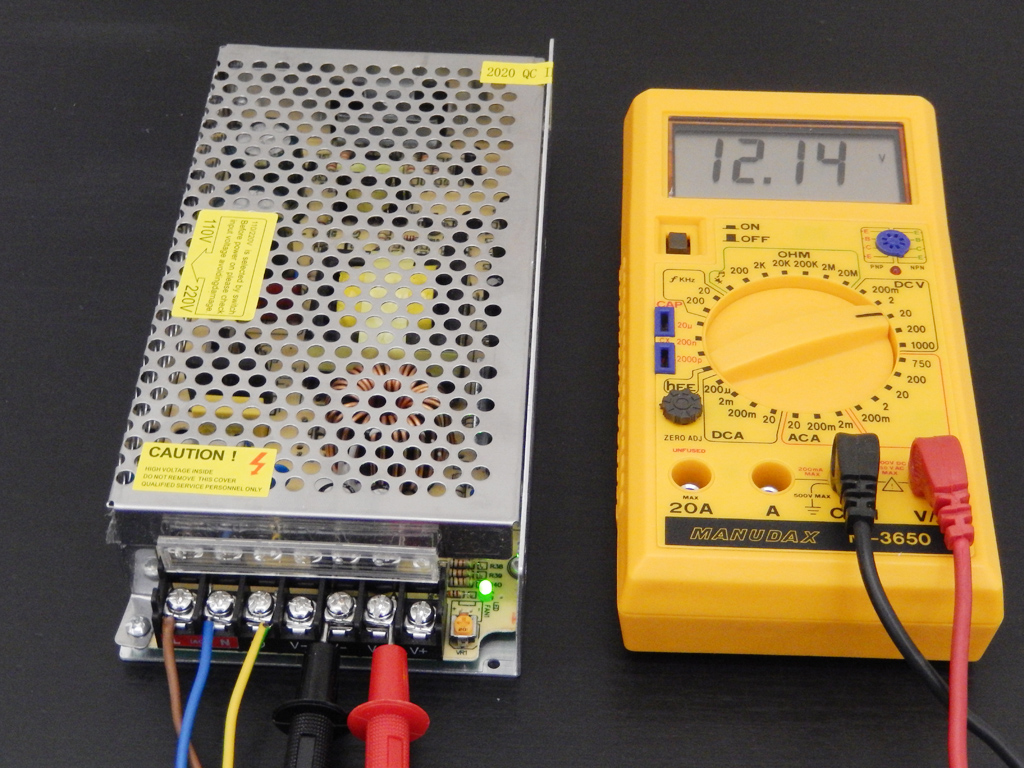
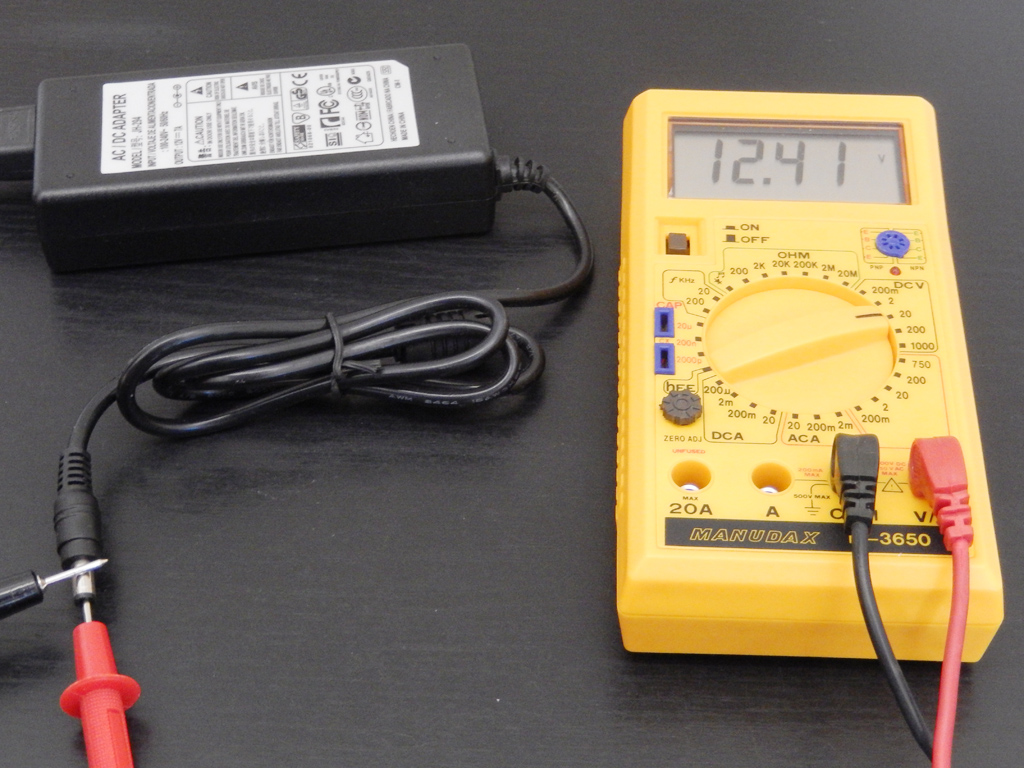 If the value indicated is zero, or if the output voltage oscillates between 0 and 12/24V, this means that the transformer is out of order. It will have to be replaced.
Led ribbon test
The next step is to test the headband alone, without a controller or dimmer and amplifier.
Connect the ribbon directly to the V+ V- power supply in 12 or 24V as follows:
- For a white or single-colour headband: red wire on V+ and black wire on V-
- For a variable white band (CCT): red wire on V+, white and yellow wires on V-
- For an RGB strip: black wire on V+, red, green and blue wires on V-
- For an RGBW strip: black wire on V+, red, green, blue and white wires on V-
- For a variable RGB + white strip (RGBCCT): black wire on V+, red, green, blue, white and yellow wires on V-
- For a dynamic effect strip: The test is not possible in this way. Consult the specific guide associated with this ribbon.
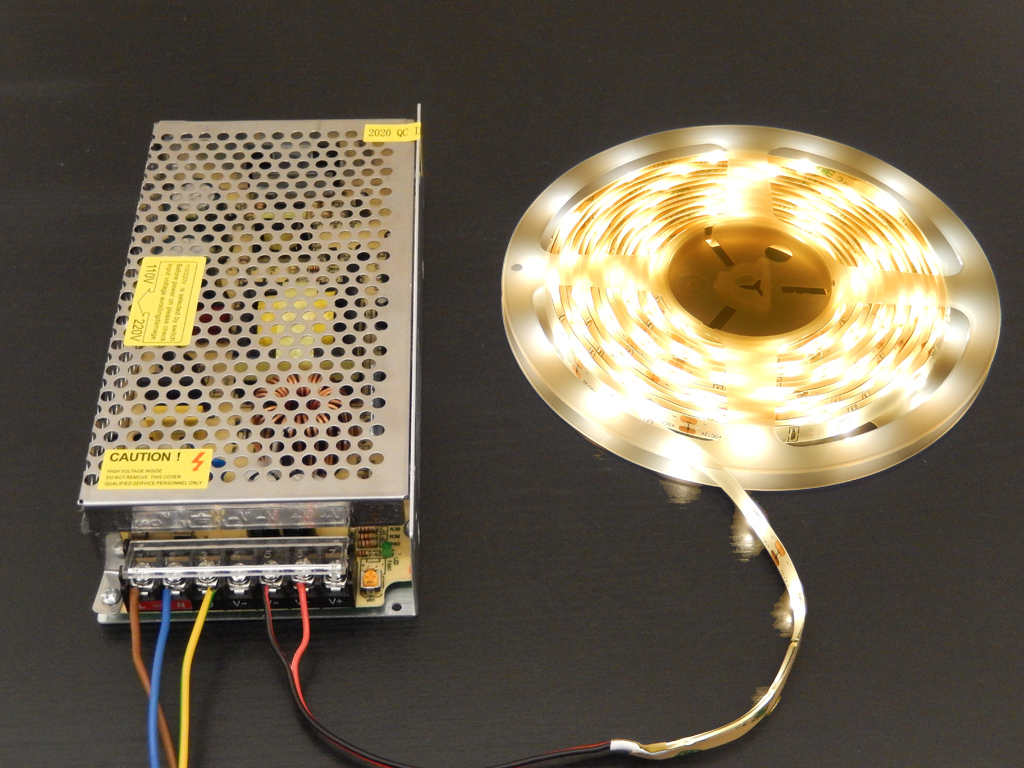
If the strip lights up along its entire length, this means that the power supply + the ribbon are not the cause of the failure.
the problem therefore comes from the dimmer, the controller or the amplifier.
If the banner does not light up, check the following:
- Check the + and - polarity of the connections
- Check that the wires are correctly inserted in the terminal block
- Wave the ribbon along its entire length, including at the starting connection point to see if there is any bad contact, either at the start of the ribbon or further down the band itself.
If the headband still does not light up, it is probably defective and must be replaced.
If during the undulation, the band turns on and off, it is a bad contact (See next chapter).
Repairing a led strip
Repair of a led strip with bad contacts
This is the most common failure on an LED strip.
Poor contacts can occur during tape installation, after rough handling, or due to severe temperature changes over time.
The PCB (semi-rigid part of the strip) expands and contracts when going from cold to hot, which can lead to micro-cracks in the welds, hence the appearance of bad contacts.
If the bad contact occurs at the very beginning of the strip, simply redo the connection properly to solve the problem:
- Gently peel off the heat-shrink tubing (white or black plastic)
- Unsolder the wires and resolder them properly
- If possible, reapply heat shrink tubing. If you don't have one, wrap the beginning of the tape and the wires with electrician's tape to stiffen and secure the connections.
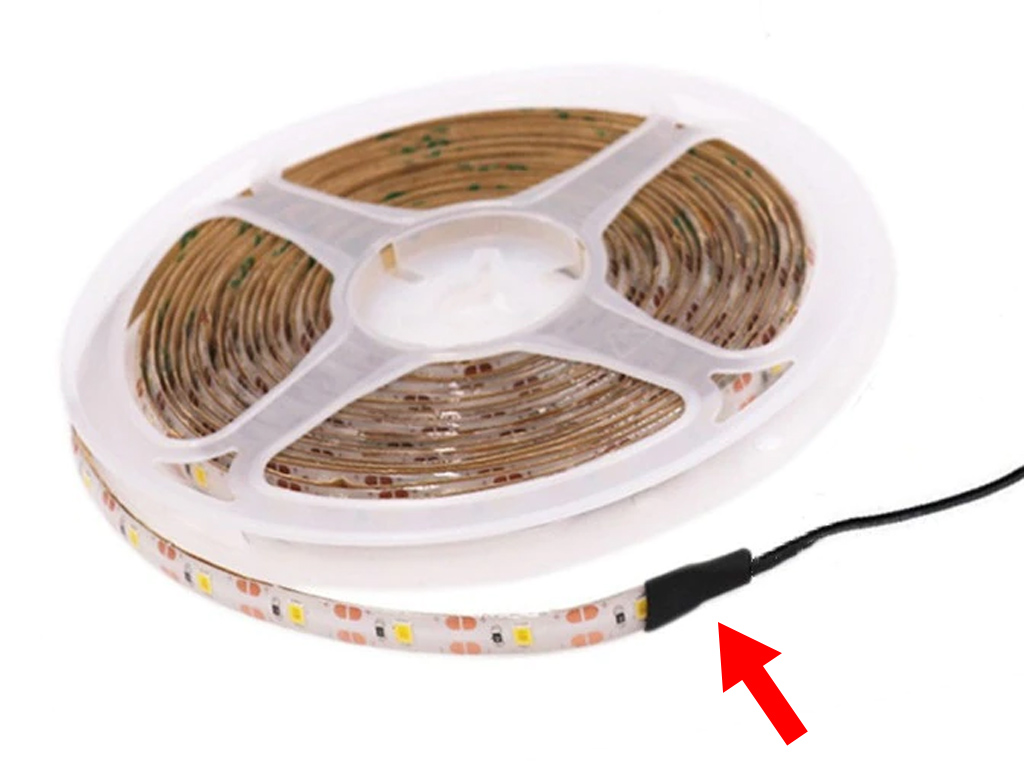
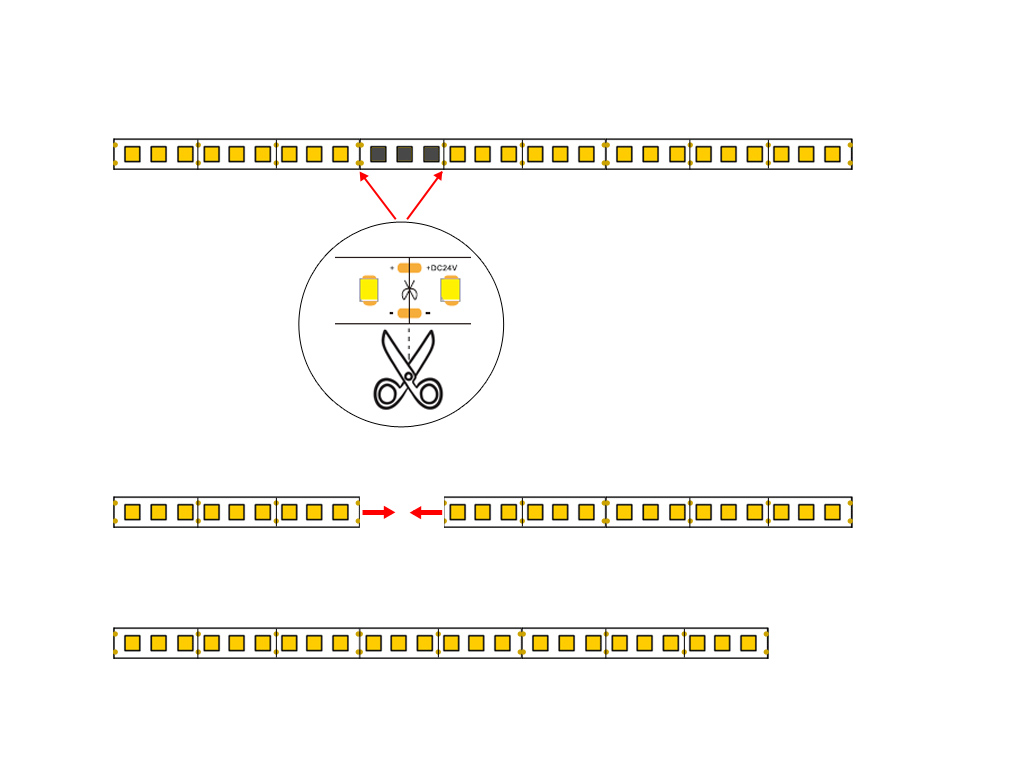
If the bad contacts occur in the middle of the strip, the only solution is to remove the defective section, generally in groups of 3 or 6 leds.
- Cut the defective section at the cut-out locations indicated on the tape, using scissors or a cutter. Cut well in the middle of the copper tracks!
- Put the 2 pieces of ribbon next to each other
- Solder them using very short small wires
Repair of a led strip with missing colors or sections of different shades
A multicolor RGB, RGBW or variable RGB+white led strip is meant to be the same color throughout its length.
If some sections, usually 3 or 6 leds, have a different color, it means that one of the wires is not connected correctly or that a solder has broken on the PCB.
To define the breakdown, successively light your strip in red, then in green and finally in blue.
If any of these 3 colors don't work on the strip at all, the problem is either a bad connection of one of the R, G or B wires, or the starting solder is broken.
Check that the wires at the controller output are bare and firmly connected. If this is the case, it will be necessary to remove the heat-shrink tubing (white or black plastic) and redo the welds properly.
If only one or more sections do not light up in the 3 colors, you will have to delete the damaged section as indicated in the previous chapter.
tape_peeling
The led strips have a double-sided coating that can peel off over time, especially in the event of excessive humidity.
In this case, you can apply a small net of translucent silicone on the back of the led strip.
Never use strong glue which could destroy the tape and cause poor contact.
